How To Harvest Black Walnuts

Black walnuts are an excellent foraged food source, but they can literally be a tough nut to crack!
Found in most cities and many forests in eastern Canada and the USA, these native nuts are often an annoyance to home owners, who will most likely be happy to let you harvest them from their yards.
They do take quite a bit of work for very little return, which may be why they aren’t more popular. That being said, black walnuts do have a very different flavour than their English/Persian counterparts found in the store, and I think they are well worth the work.
What You'll Need:
- Freshly harvested black walnuts
- Plastic bag
- Plastic tub
- Rubber gloves
- Hose with spray nozzle
- Rain boots
- Mesh Bag
- Hammer
- Pick
Preparation
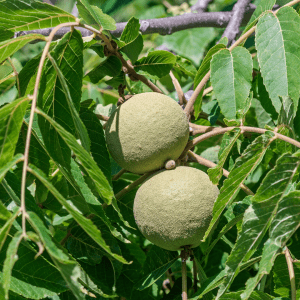
Do some scouting ahead of time and find yourself a black walnut tree. These trees tend to be large, with thick ridged bark and compound leaves with 14-22 leaflets.
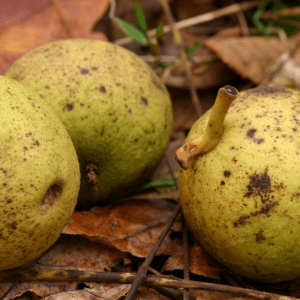
The fruits grow over the summer and resemble tennis balls in colour and shape.
Black walnut trees can be found all over the Eastern side of North America, from Florida up into Ontario. The tree’s range is moving north due to high populations of squirrels, who bury the nuts and forget about them.

In late September and early October, the nuts will fall to the ground. Now’s the time to harvest them.
Most people don’t bother harvesting the nuts, so if you can’t find a tree growing in a park or public place, try knocking on someone’s door who has one in the front yard. They’ll probably be happy to be rid of the lawnmower wreckers.
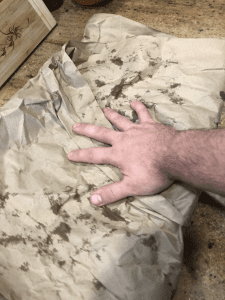
Use gloves or a plastic bag over the hand when harvesting as the skins covering the nuts will stain your hands yellow for days!
Remember, processing these nuts is a lot of work, so don’t go too crazy harvesting. I think it’s a good idea to start with a grocery bag full. If you enjoy it, then you can go bigger next year.
The skins surrounding the walnuts will usually have walnut husk larvae in them. This is a good thing and will work in your favour!
The larvae never (and simply can’t) venture into the walnut itself. I put them to work by eating away at the tough outer skin for me.
To do this, I tie up all of the green-hulled walnuts I’ve collected into a plastic grocery bag and put it somewhere out of reach of any squirrels.
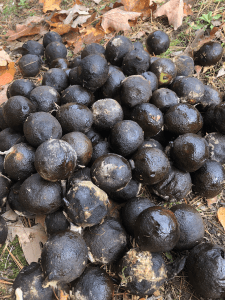
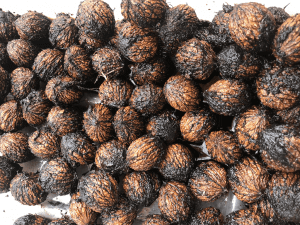
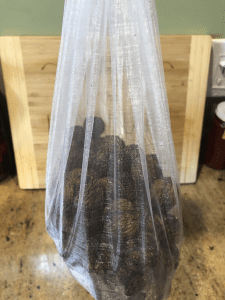
After 1 or 2 weeks, the larvae will have done their work, softening the skins and turning them black.
If the thought of this grosses you out, feel free to cut off the husks while they’re still green. Definitely doable, but a lot more work.
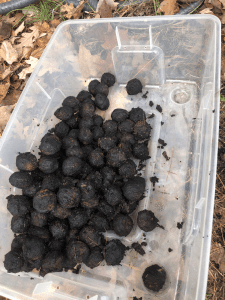
After 1 or 2 weeks, the walnuts should look like this:
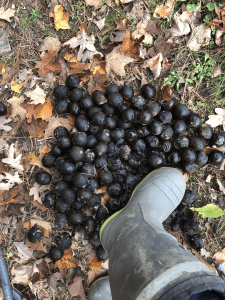
Grab a plastic tub and a hose and head outside. Dump the nuts out onto the ground and use a rubber boot (so as not to stain your shoes) to roll around the nuts, crushing the skins.
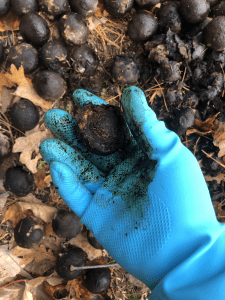
Once they’ve all been bashed a bit, put on some rubber gloves and use your thumbs to push off most of the black gunk. Throw the de-gunked nuts into the bin.
Once you’ve gone through all of the nuts, take your hose and put it on the hardest spray setting. If you have a pressure washer, even better.

Spray the nuts until they’re mostly cleaned off. Do this on grass, as the water could stain patio stones or deck boards.
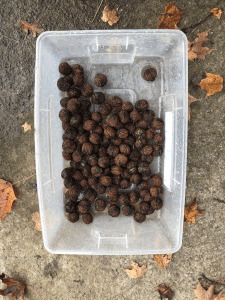
I needed to take a few out and give them some extra attention.
Take the cleaned walnuts back inside and dry them off very well using newspaper, paper towel, or rags (remember they may still stain if you use a nice cloth towel).
Dump the nuts into a mesh bag (an old onion bag would work great), or spread them out on a framed screen or rack to cure. Let them dry and cure for about 2 weeks. Make sure they’re out of reach from rodents!
From here you can store them inside as-is, or crack them open, and store the nut meats in the freezer. If storing in the shell, try to use them up within a year or two.
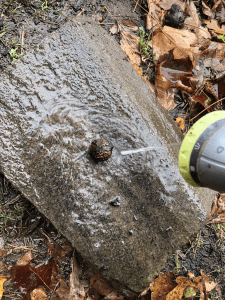
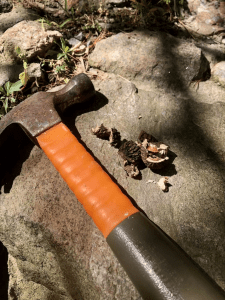
To crack, set the nut onto a hard surface like a rock, patio stone, work bench, or thick cutting board. Carefully give it a whack with a hammer. Try to just crack it all of the way around rather than blast it into smithereens.
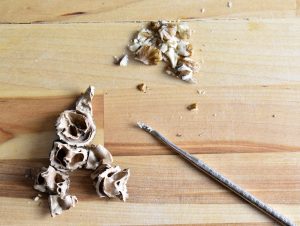
Pry it apart, then use a toothpick, nut pick, or lobster pick to pull out all of the nut meats. Be sure that no hard shell has made its way into the meat. It can be very difficult to take out the entire nut like you can English walnuts. Just keep practicing and you’ll get better at it. As you can see from the picture, I definitely need more practice!
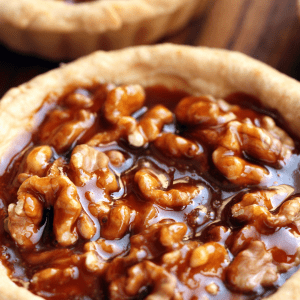
Use the meats in your favourite walnut recipes, or freeze.